
Image via Pinterest
1. Rod in Casing
If your tapestry has a casing for a rod, then this may be the hanging method for you. There are a lot of options for rods out there like you’ll find here and here. Casings can really simplify things in that all you have to do is slip the rod in and hang it on nails. If you’d like to add a casing, then simply sew on heavy weight fabric across the back to fit the width of your rod. Sew along the top of your fabric strip and the bottom, leaving the middle open for your rod. (A seamstress may be able to help you with the sewing part.) The casing should be sewn perfectly straight and not necessarily lined up with edge of your tapestry, which could be slightly uneven, causing crooked hanging. This may be one of the more common ways to display your tapestry or rug, but there are others too!

Jane Hall Design featuring an Indian saree turned wall tapestry.
2. Good, old fashioned nails or push pins
You can nail your tapestry directly to the wall with nails, or even push pins if the tapestry is light enough. This is great for more loosely woven tapestries, as the nails will fit between the wefts. For more tightly woven tapestries or rugs, you would be putting a small holes along the perimeter of your tapestry, but for long term placement and thicker weaves, this may not be a problem.

Floral tapestry designed by BlueBellGray
3. Velcro (attached to a strip of wood)
Adhering your tapestry to the wall with velcro is a great method for those wanting to avoid putting any holes in their tapestry. For those with a heavier tapestry, I have a helpful hint to make sure your velcro has staying power. Nail a strip of wood just slightly shorter than the tapestry into wall studs. Adhere the rougher velcro side to your strip of wood on the wall and the opposite velcro piece to the very top of the BACKSIDE of your tapestry, and then connect your velcro. Voila! You’ve hung your tapestry without putting a single hole in your prized wall art.
Rug hung as wall art, Elle Decor
4. Mounting on Plywood Board
Another method that works well for both heavier and thinner tapestries is mounting your tapestry onto a wood frame (like plywood board). If you have a heavy or thick tapestry, you can stretch and staple the tapestry over a plywood board or canvas stretchers and then hang it on your wall with sawtooth picture hangers. The edges of your tapestry will be flipped to the back of the plywood board and stapled down in this method.
If you are working with a thin or lightweight tapestry, then the best approach is to stretch heavy weight, linen canvas across the front of your plywood board and staple the fabric (tightly) to the back of your wood board around the perimeter. This wood board would need to be wider and longer than your tapestry, as it will serve as the “frame” for your tapestry wall art. Once your heavy linen fabric is stapled onto the board, then you will need to hand sew your tapestry directly to the center of the fabric using a curved needle. The fabric showing along the perimeter will border your tapestry quite nicely. Make sure to sew your tapestry around the perimeter, as well as at various points on the interior of the tapestry in order to avoid unattractive sagging later (due to uneven weight support). Be sure to use thread colors that match your tapestry closely and no one will even notice. (P.S. You can always dye your heavy weight linen a cutom color in advance for a fine art look!)

Image via Pinterest
5. Foam Core Mounting
6. Tapestry as a ceiling feature
This is a great idea for those wanting to create a more unique ambiance in a space. A tapestry hanging from your ceiling can add wonderful drama to your space, along with decorating a rarely decorated element of your home… the ceilings!
 Justina Blakeney Design
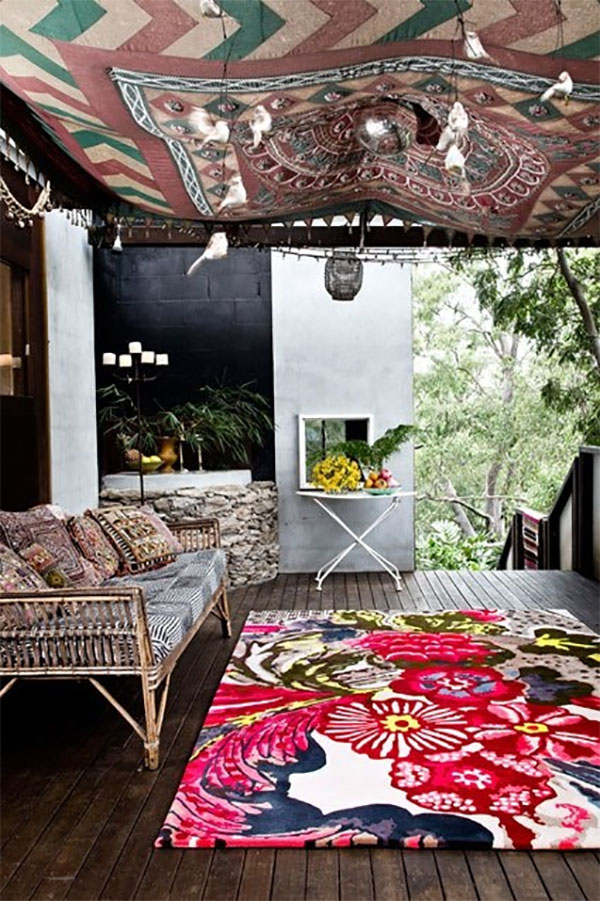 Decorative tapestry hanging from ceiling, Image via Mamamia
7. Facing and Board Method – For tapestries with fringe
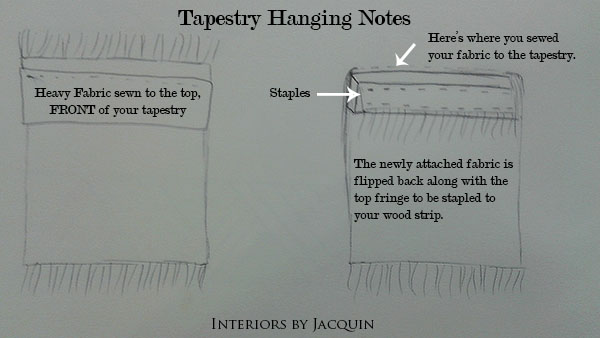
This method is perfect for tapestries with fringe on both ends. Here’s how it works. Like with the Velcro method in #3, you’ll need to cut a strip of wood that is slightly shorter than your tapestry. For this method, then entire tapestry is NOT attached to a larger plywood board, but rather a narrow strip of wood is attached that only goes along the very top of your tapestry.
You’ll need to first add a “facing” to the back, top of your tapestry. A facing is basically a strip of fabric about 6 inches in width and the same length as your tapestry, which is sewn to the FRONT, top of your tapestry, just under the fringe. (You won’t see this fabric or stitching when it’s done because it will be flipped to the back.) This “facing” is flipped to the back and wrapped around your pre-cut wood board. Staple your facing down onto the wood strip in two rows of staples, along the top and bottom of your facing. This will cause your top fringe to be hidden and on the back of your tapestry so that the fringe doesn’t dangle downward over your tapestry. (I’ve included an illustration below to help you conceptualize this.) You will hang your tapestry to the wall with nails using the back wood strip now attached to your tapestry. (For a heavier tapestry you’ll want to hang your tapestry in a place you can find a wall stud.) Your fringe across the bottom of your tapestry will hang down from the bottom and look quite nice!
 Brooklyn home of author Julia Chapman, featuring One Kings Lane rug as wall tapestry
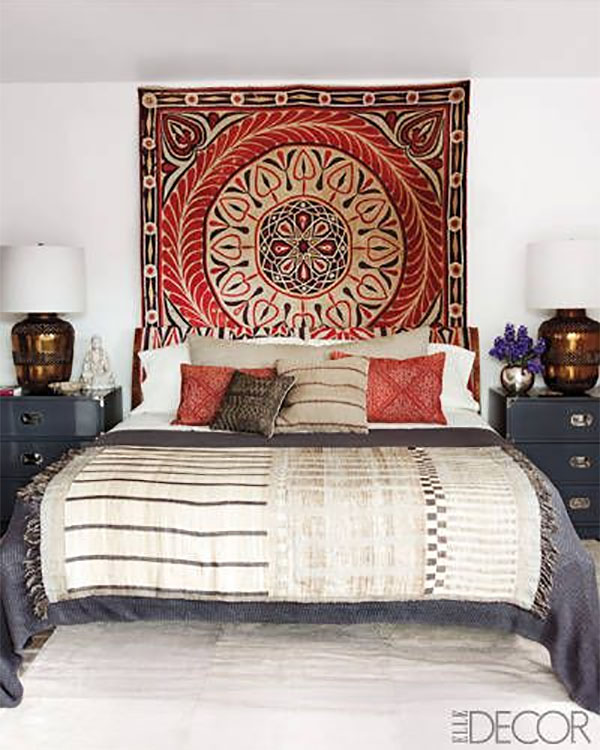
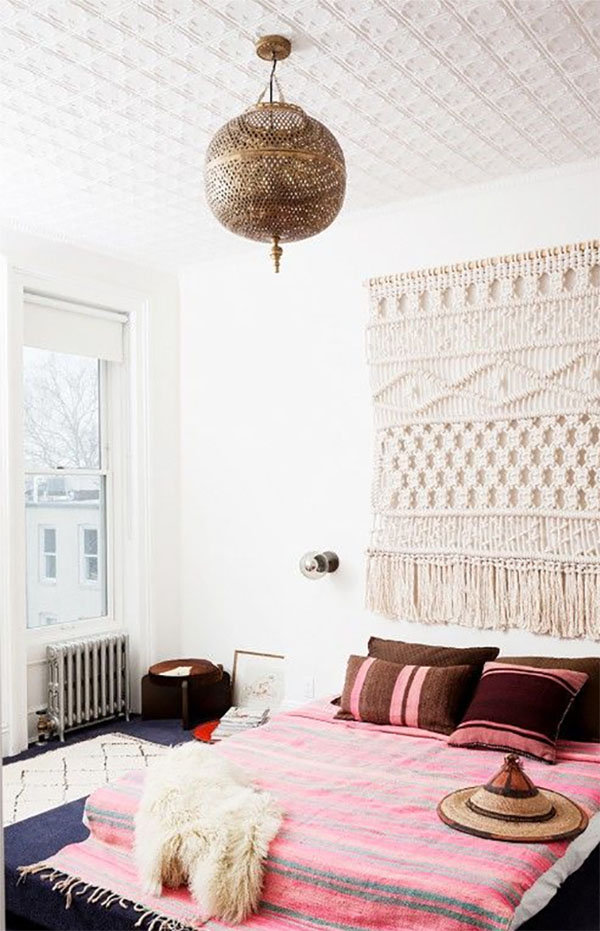
8. Tapestry as headboard
I really love this idea, especially for someone wanting to save a bit of cash by avoiding the more expensive, traditional headboards. These pictures will definitely inspire you to experiment with hanging tapestries and rugs as bedroom decor.
 Image via Good Housekeeping
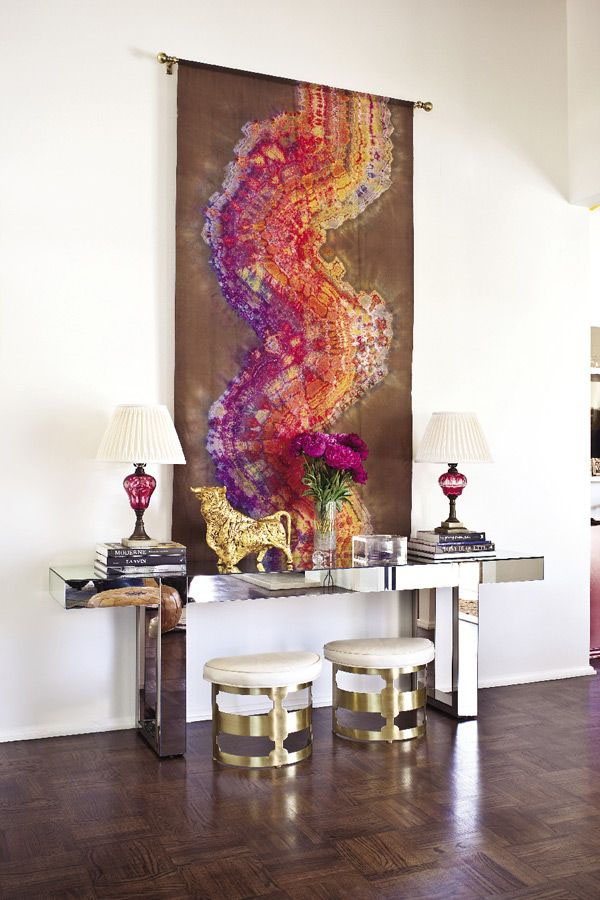
 (Left) Home of Lighting Designer Marjorie Skouras, Apartment Therapy (Right) Image via Country Living