
Hi, my name is Veronica. I’m a graphic designer, blogger, and overall artist, and I have a great home decor DIY project for you. When I first moved into my boyfriend’s house, I wanted to help make his house my home with my own unique decorative touches. Today I will show you how I managed to do just that with a piece of wood, paint and chalk. Take a look at this great home decor DIY project!
Step one: Buy tools.
To get started, you will need a wooden plaque, chalkboard paint, a paint brush or sponge, chalk or pastels and some nice ribbon. If your wooden plaque doesn’t have a hole drilled in it, you can use some screw hooks instead. You can find all these items at your local craft store.


 Step two: Prep wood sign.
I recommend getting the Rustoleum chalkboard paint, it goes on smooth and is easy to wipe clean with a damp cloth. Use a wide paintbrush or a sponge to brush on a layer of paint. Wait a couple hours before applying a second coat. After a few more hours, you may begin writing on it.
 Step three: Create your word.
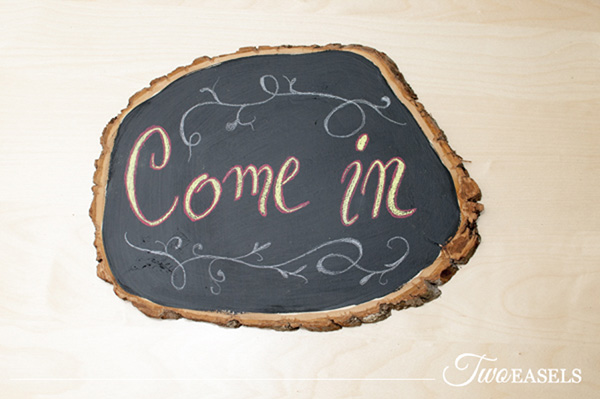
Time to start writing! For this example I decided to use the words “Come in” and “HELLO”. Start by lightly writing the words on your sign, don’t press too hard, this is just to see how you will arrange them.

Once you are satisfied you may go over the lines with more pressure.

You should also experiment with different styles, some of you may like thick block letters and some of you may prefer a handwritten style. I used soft pastel pencils because they are more precise in small areas and come off easier with a damp cloth.
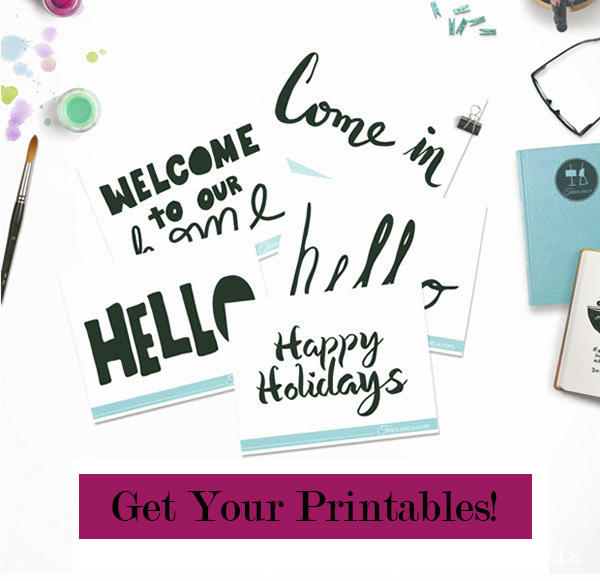
For your convenience, I created some printables to help you draw out your greeting. You can print them out here and use them to transfer the letters to your sign. To do that you first print them out, turn them over to the back side, rub some chalk onto the paper, place the paper print side up on your sign and go over the letters with a pencil or marker. This should transfer the print onto your sign.
 Step four: Decorate.
Also, feel free to add you own hand drawn, decorative elements! Flowers, squiggles or other creative designs will only add to the beauty of this handmade sign.
Step five: Display.
You are almost done, all you have to do now is hand it up or display it on a picture stand. I used yellow ribbon and tied it into bows on the front. And that’s it, hang it on your door and enjoy.


This is a great way to personalize your door when holidays come around! You can simply erase your old greeting and write “Happy 4th” or “Happy Holidays”. You can even paint both sides of the plaque and have an interchangeable sign. It’s great for businesses, too! You can have one side that reads “Open” and the other “Closed”. There are many other things you can do with just chalkboard paint and some chalk, so go and explore your possibilities. I hope you have enjoyed this tutorial! If you want to learn more about lettering you can join my FREE 5-Day Hand Lettering Course.
Thank you to Veronica for sharing this awesome DIY project on the blog today! This is one I will definitely try in my own home. I’ll also be participating in Veronica’s free hand-lettering course this week. Hand-lettering is the art of drawing letters and can be used to create all sorts of artwork, so be sure to sign-up if you’re interested. Happy Friday!