
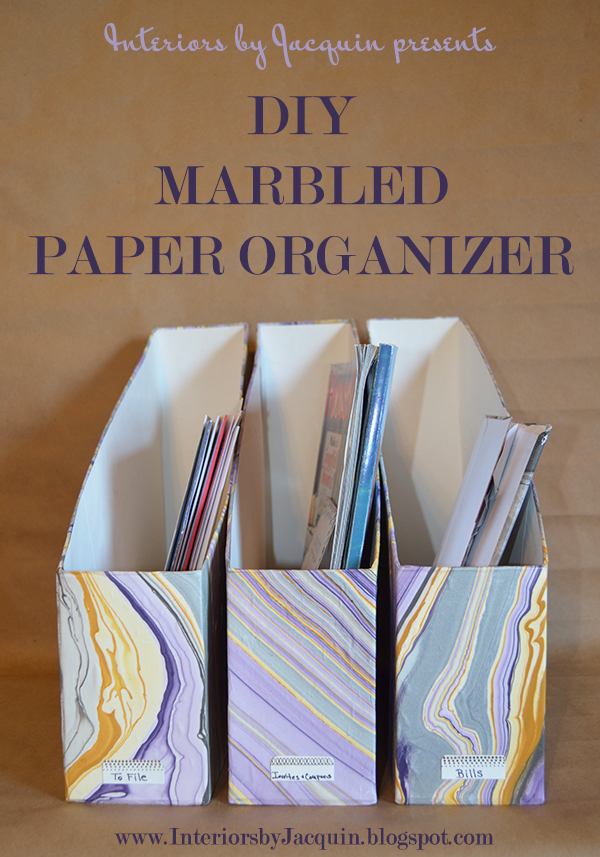
Hi everyone! I’m so excited to have a new DIY craft for you today. I’ve partnered with the Paper Source to bring you this useful (and stylish) sponsored post and it features their beautiful marbled fine paper. This DIY idea came out of my need for a system to organize my mail and it happens to be super easy. Here’s how to make your own paper organizer (or magazine holder) in an attractive marbled design using a free priority mail box from the post office. Let’s get started!
Materials:
1. Priority mailing box from the Post Office (medium size)
2. Soft grip knife (Xacto knife)
3. Self-healing cutting mat
4. Scissors
5. Paper Source Marbled Fine Paper in the color of your choice (or try using old wrapping paper!)
6. Mod Podge (matte)
7. White acrylic paint
8. Paint brush
9. Gold foil adhesive tabs
10. Super glue
Step 1. Mark your USPS mailing box for cutting. The front will be cut down to 5 inches tall and all other edges will be cut at 12 inches in height. See my photo for reference.

Step 2. Score the lines that you will be cutting with your xacto knife first to make cutting the box to size much easier. After you go over each line with an xacto knife, then complete the cutting process with your scissors following along your scored lines.
Step 3. Once you have cut the box to size, then assemble the box including sealing the bottom, which should have an adhesive strip to do so, just like when you’re sealing a box for mailing.
Step 4. Paint over the text on the priority mail box with your white acrylic paint. Allow to dry.
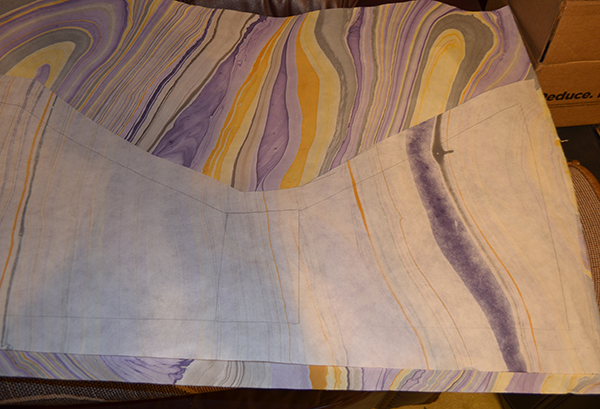
Step 5. Once your box is dry, take the specialty paper you will be wrapping your box in and cut it to size. In order to do this, trace the edges of your assembled box onto the back of your paper. Allow a 2″ border around the full shape you’ve traced. Once you have traced the outline of your box, cut the paper along the lines you’ve drawn.

Step 6. Now you’re ready to apply the mod podge so that you can adhere your specialty marbled paper to the box. (You can use wrapping paper to cover your cardboard as well.) Paint the Mod Podge product onto the entire box, not missing any spaces. Then quickly coat your pre-cut paper in Mod Podge as well, covering the full backside of your paper in the Mod Podge liquid. Once the box and paper have been coated, now you can line up your paper onto the box and press it on. Smooth your paper onto the box with a wall paper roller or tile smoother (or your hands) in order to avoid bumps or bubbles. There will be excess paper along the edges. Cut the loose paper at the corners and fold the excess paper into the inside of the box. For the bottom, fold the excess paper underneath the bottom of the box. Seal the edges down with Mod Podge.
Step 7. Once your paper is adhered to the box, immediately coat the entire outside of the box in another layer of Mod Podge. Allow your box to dry overnight.
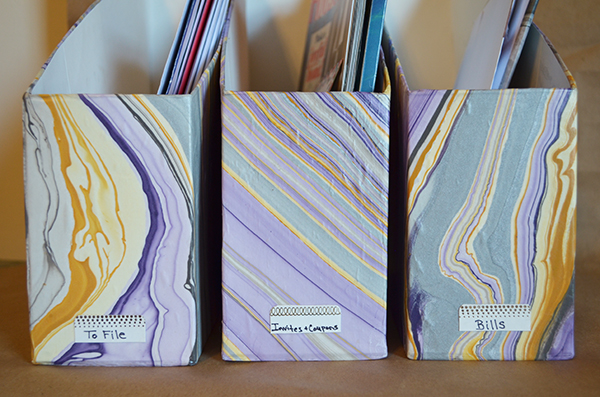
Step 8. The next step is to create your labels. Cut your gold foil adhesive tabs in half and then fill out your labels with a fine-tip permanent marker. Glue your labels to the front of your new paper organizers.
Step 9. Now it’s ready to use! You may also cover the inside with white paper like I’ve done for a more professional look. Enjoy!
