
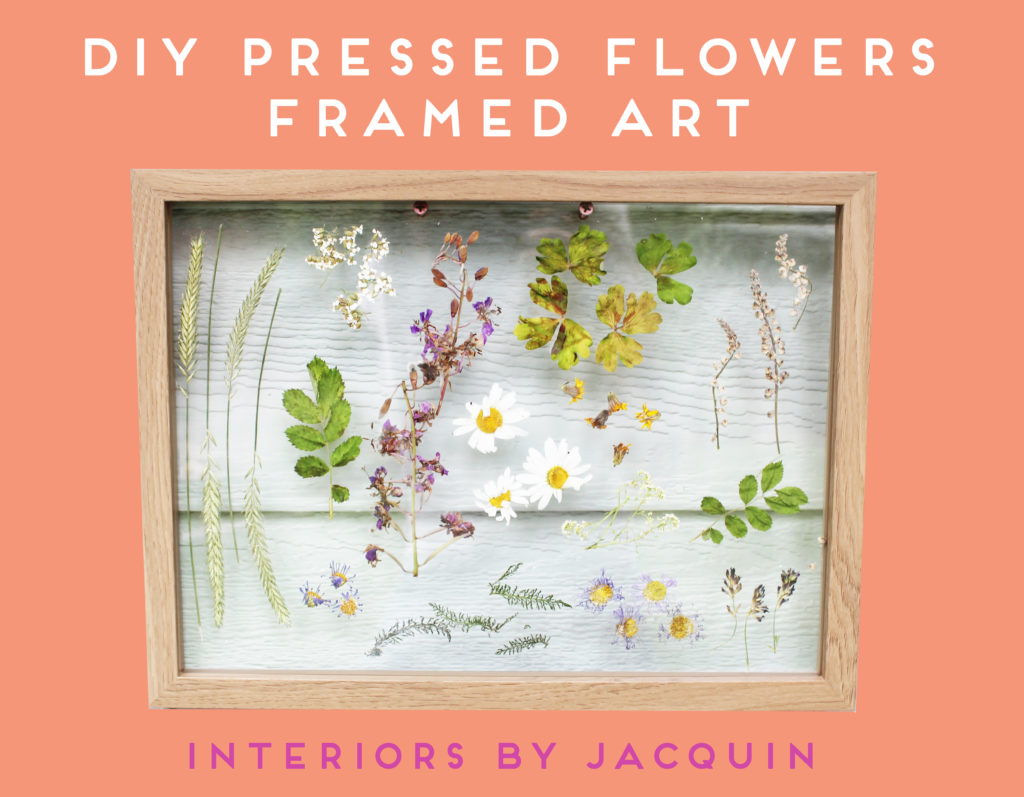
While summer is quickly coming to an end, there is still time left to craft something that will let you preserve your favorite flowers of the season! This Do-It-Yourself pressed flower wall art will not only be fun to make, but will add a unique new decoration to your home. Here is a step-by-step tutorial on how to create your own floral frame!
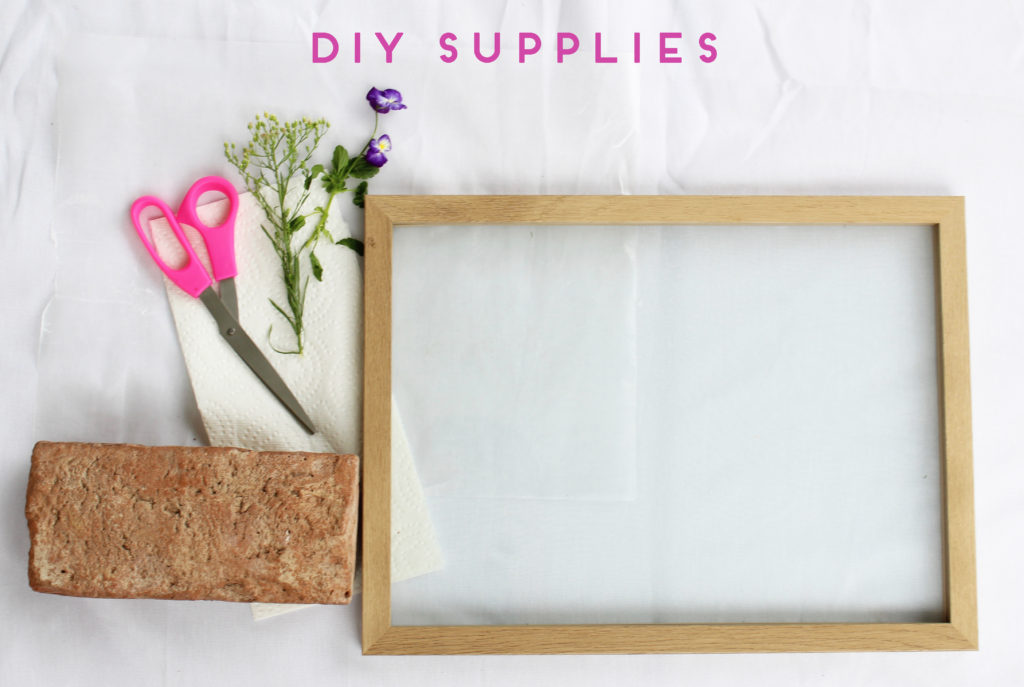
Materials
1) Wooden floating glass picture frame 2) Fresh flowers 3) Microwave 4) Paper Towels 5) Parchment paper 6) Microwave safe brick (could be exchanged for tile or ceramic) 7) Scissors
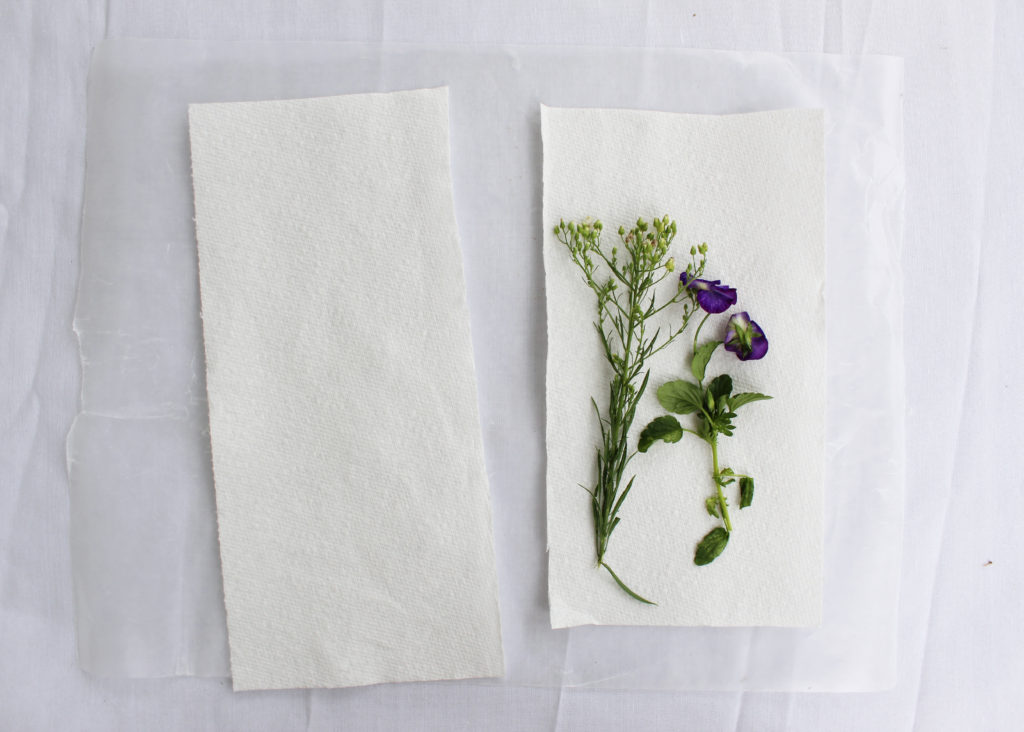
Step 1
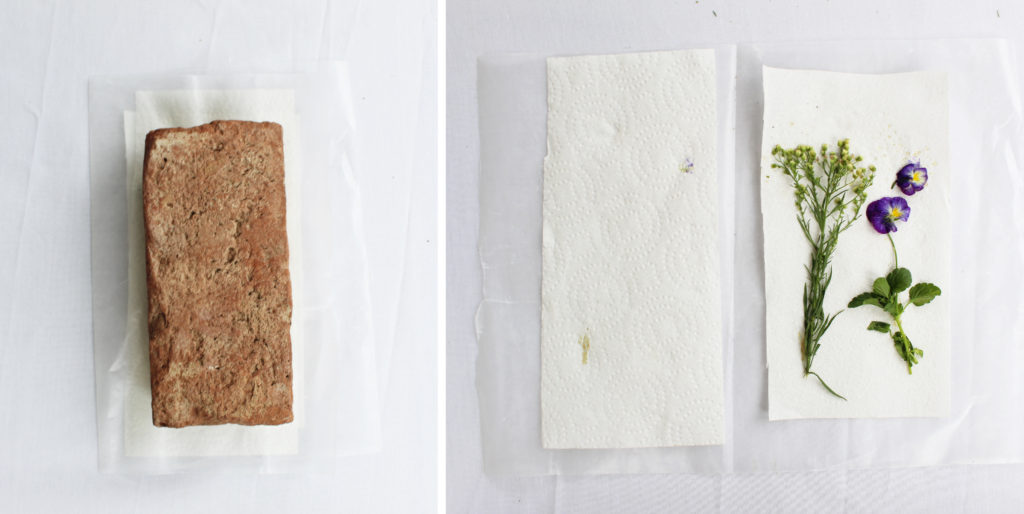
Lay out parchment paper with paper towels on top. The parchment paper will protect the microwave; the paper towel will protect the flowers. Place flowers in between the paper towels.
Step 2
Fold paper towels and parchment paper over the flowers. Place the brick on top of the stack and put in microwave. Microwave for two minutes in 30 second intervals. Be sure to check the flowers each time so they are not getting burnt!
Step 3
Remove flowers from the microwave. Open paper towel gently to ensure flowers do not get stuck or torn.
Step 4
When the flowers are out of the microwave, use scissors to trim the flowers and leaves into the desired shape.
Step 5
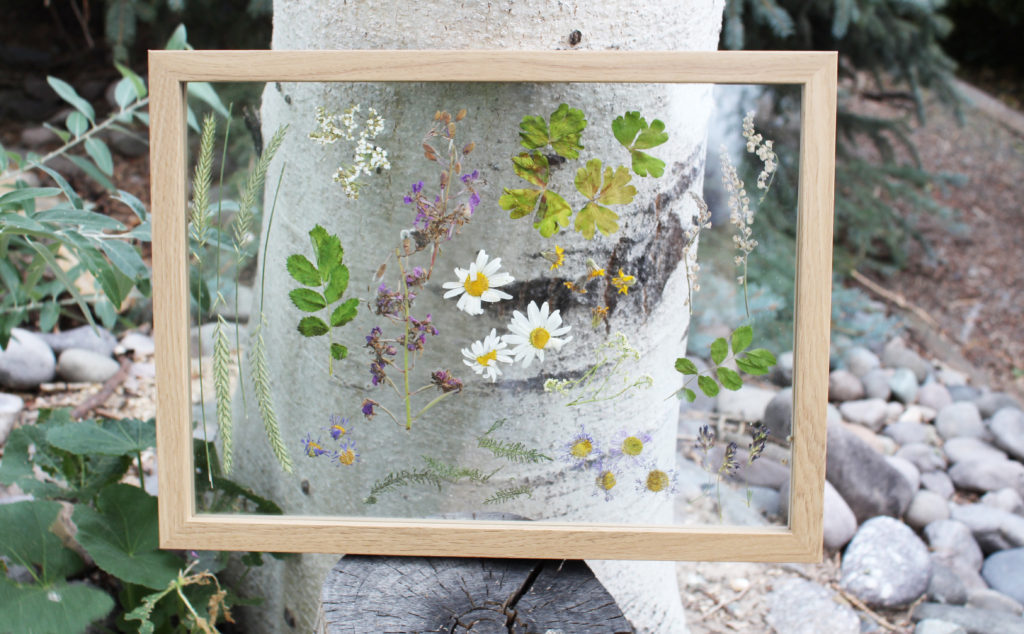
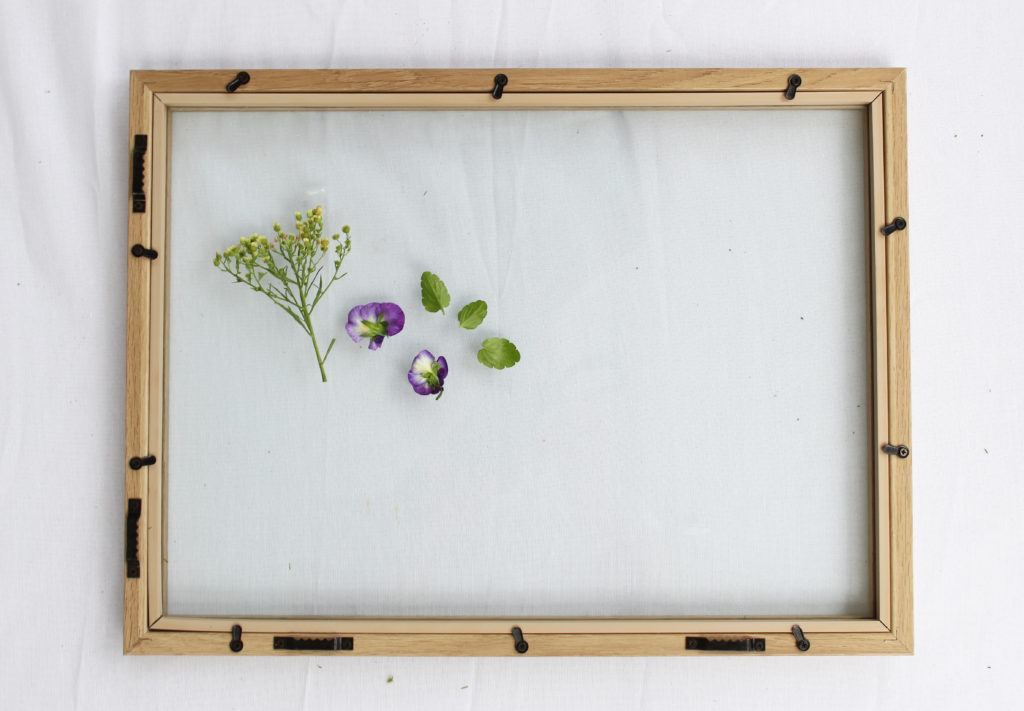
Open frame and remove one piece of glass. Arrange flowers in any design that is desired on the remaining glass. When satisfied with the layout, place top glass back into place and secure frame.
Step 6
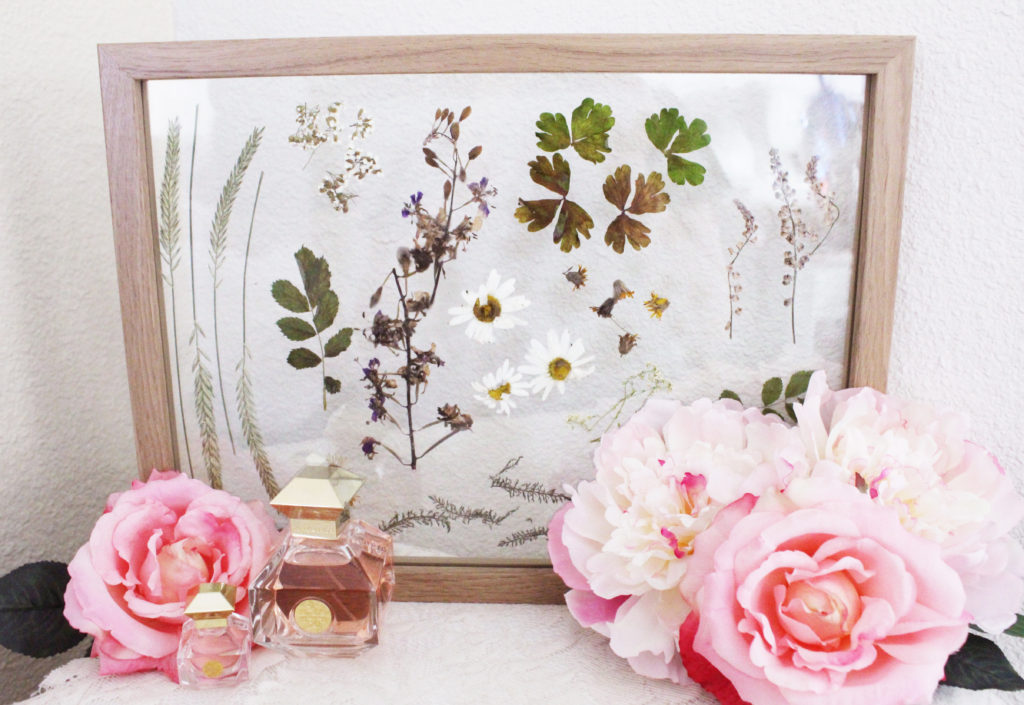
Display your new floral frame! These can be hung on the wall or displayed in the window.
DIY Article by Taylor Hartlein – Interiors by Jacquin intern